ARTICo³ – First Steps
Tutorial created on July 5, 2019 by A. Rodríguez
This tutorial covers the following topics:
- Setting up a running environment for ARTICo³ applications in an FPGA board
- Building applications with the ARTICo³ toolchain: hardware and software
- Executing ARTICo³ applications in an FPGA board
Requirements
- None
Generate Target Environment
ARTICo³ needs a Linux-based Operating System available on the target platform. The GitHub repository comes with installation scripts to automatically generate ready-to-use SD card images in artico3/tools/install. Currently, the following development boards are supported:
- Digilent Pynq-Z1
-
pynq_lite.shfor a lightweight filesystem -
pynq.shfor a Linaro Debian filesystem
-
- Xilinx ZCU102
-
zcu102.shfor a Linaro Debian filesystem
-
The rest of this tutorial assumes that the user has a Pynq-Z1 board.
Lighweight Distribution
NOTE: follow these steps if you want to build a minimal Linux-based distribution using BusyBox and a couple more utilities. Recommended for systems with reduced memory availability.
Execute the installation script artico3/tools/install/pynq_lite.sh. The script will first check if all dependencies are met, and if anything is missing, it will report the user what is required and how to get it.
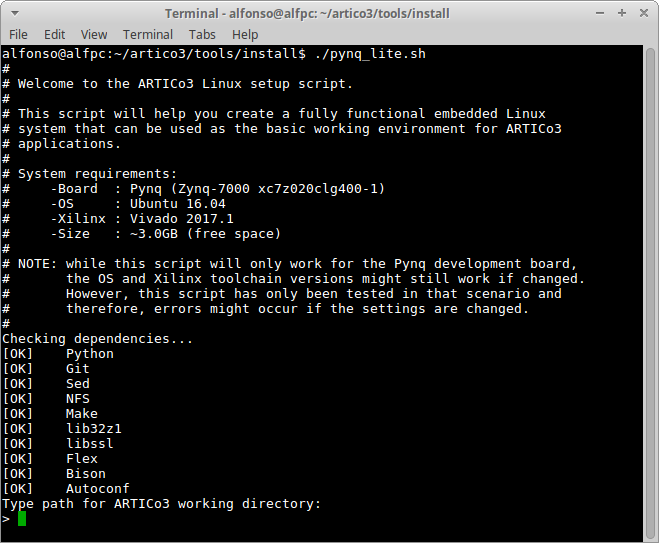
Type in the path where you wish to download all required repositories (e.g., Linux, uBoot, Device Tree Compiler, etc.) and hit enter.
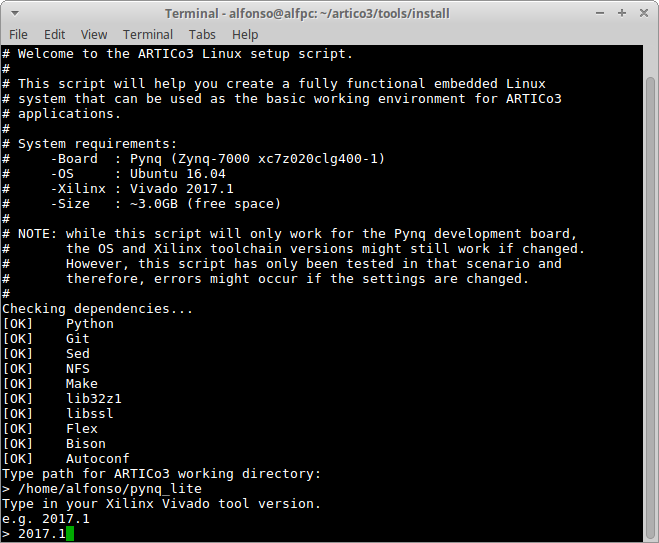
Type in the version of the Xilinx tools you wish to use (please note that installation scripts have been tested with Vivado 2017.1).
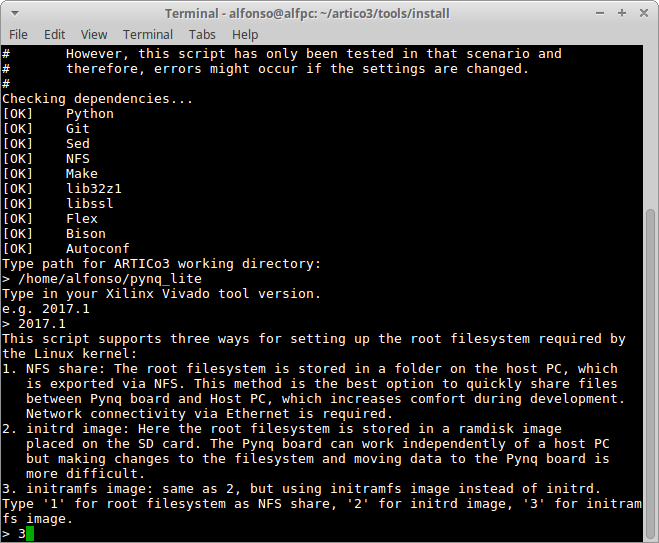
Select the type of filesystem you wish to use. Available options are NFS (network-based), initrd (RAM-based) and initramfs (RAM-based). Please, keep in mind that selecting any RAM-based alternative will require non-volatile memory to store all developed ARTICo³ applications.
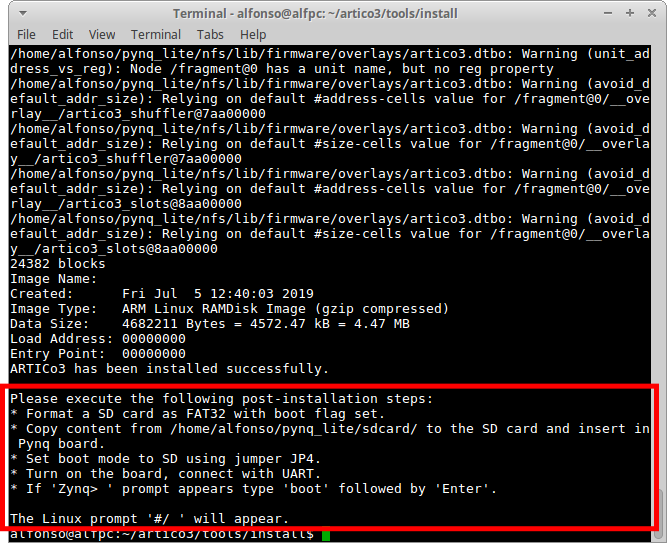
Wait for the installation to finish and execute the commands as hinted by the last message from the installation script.
Linaro Debian Distribution
NOTE: follow these steps if you want to build a fully fledged Debian distribution from Linaro. Recommended if no memory limitations exist.
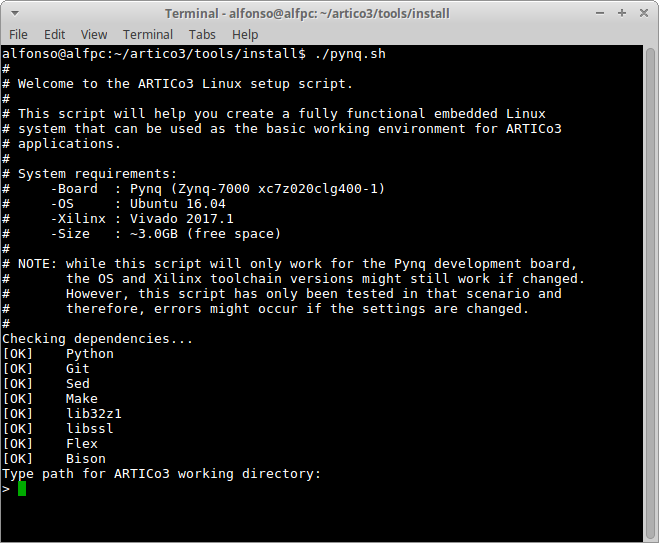
Execute the installation script artico3/tools/install/pynq.sh. The script will first check if all dependencies are met, and if anything is missing, it will report the user what is required and how to get it.
Type in the path where you wish to download all required repositories (e.g., Linux, uBoot, Device Tree Compiler, etc.) and hit enter.
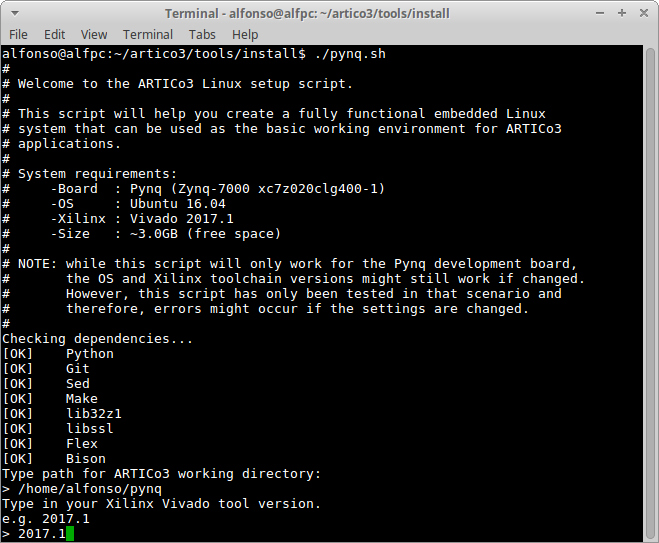
Type in the version of the Xilinx tools you wish to use (please note that installation scripts have been tested with Vivado 2017.1).
Enter your sudo password when prompted (required to generate SD card image).
Wait for the installation to finish and execute the commands as hinted by the last message from the installation script.
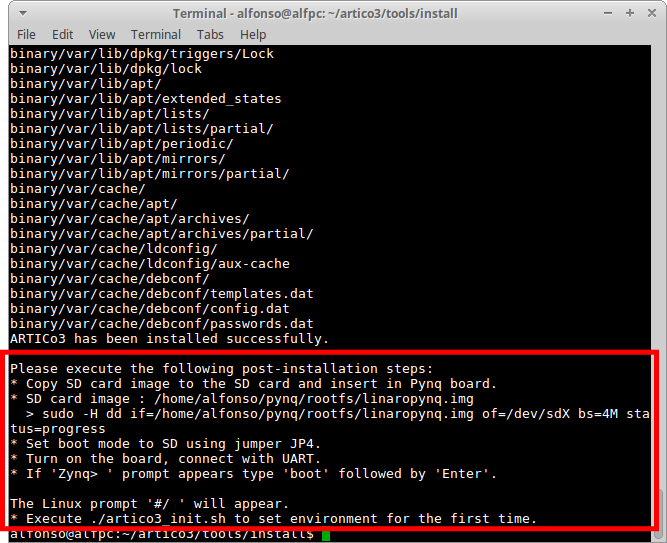
![]() IMPORTANT: before burning the SD card image, make sure you find the appropiate
IMPORTANT: before burning the SD card image, make sure you find the appropiate /dev/sdX by running sudo fdisk -l in your shell. Both fdisk and dd commands may render your hard drive useless, use them carefully.
Custom Distributions
If you already have a custom distribution running on your FPGA board, please check the documentation for more info on how to setup the basic infrastructure to start working with ARTICo³.
First Application: Array Addition
Once the embedded Linux is running in the target platform, it is time to go over the first ARTICo³ application. You will be implementing one of the demos that are included in the GitHub repository: the addition of two arrays.
Project Structure
Browse through the folders of the repository and go to artico3/demos/addvector. You should something similar to the following:
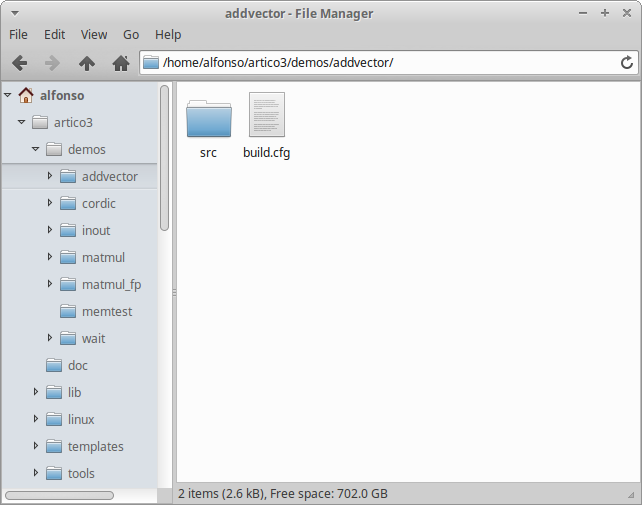
This is the basic structure of an ARTICo³ project: a configuration file called build.cfg, and a folder for all the source files called src. For more info on the ARTICo³ project structure, check out the documentation.
Build the Project
Open a terminal in artico3/demos/addvector and execute:
source ../../tools/settings.sh
This will make the ARTICo³ toolchain available in the shell. To use it, execute:
a3dk
The ARTICo³ toolchain (also known as ARTICo³ Development Kit) will start in interactive mode. This can be seen by the presence of a command prompt.
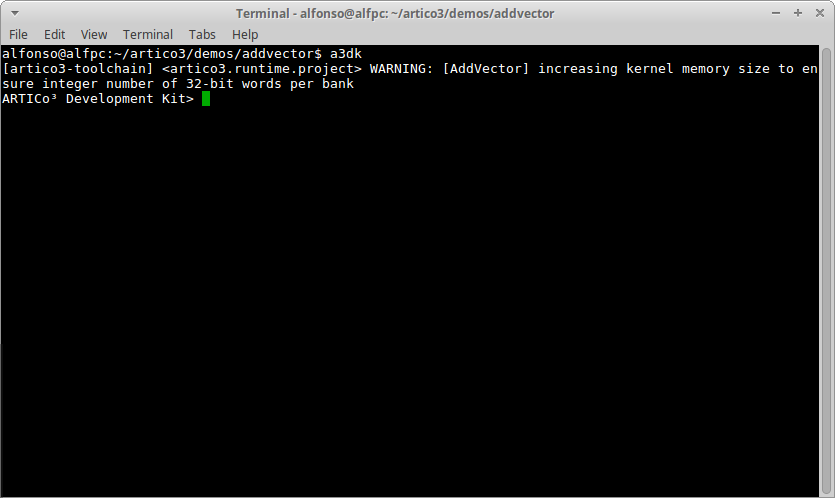
Ignore the warning and execute the following command to check the current project information:
info
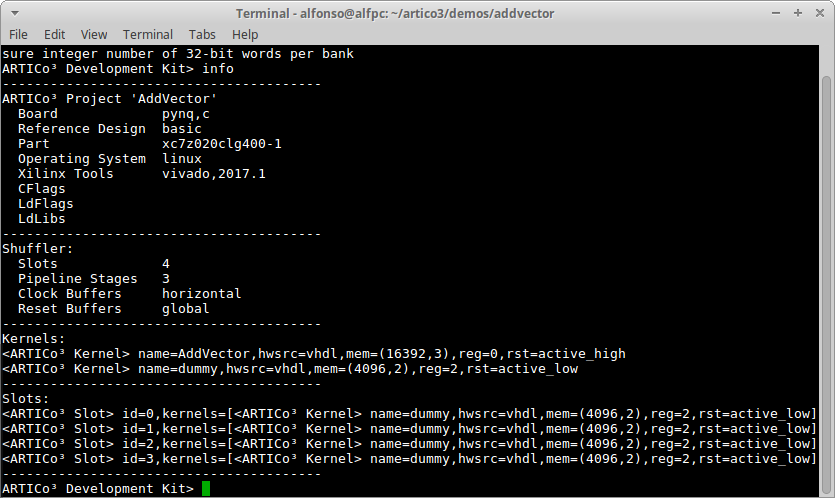
At this point, you can verify that the project targets a Pynq-Z1 board running Linux, and that there are two different ARTICo³ kernels to be implemented:
-
AddVector: the array adder, described in VHDL code -
dummy: an empty accelerator, with memory and registers
Build the Software
First, you need to generate the structure of the software part of your project. To do so, execute the following in the ARTICo³ toolchain:
export_sw
This will create the required structure of folders and Makefiles required to build the application binary in artico3/demos/addvector/build.sw.
To compile the application, execute the following in the ARTICo³ toolchain:
build_sw
Build the Hardware
As with the software, you need to generate the structure of the hardware part of your project. To do so, execute the following in the ARTICo³ toolchain:
export_hw
This will generate an IP library and a Vivado project in artico3/demos/addvector/build.hw with everything already set up and connected.
To generate the FPGA bitstreams, execute the following in the ARTICo³ toolchain:
build_hw
Execute on Target Platform
Copy Generated Files
Copy the following files to the target filesystem:
- FPGA bistreams:
artico3/demos/addvector/build.hw/bin - Application executable:
artico3/demos/addvector/build.sw/addvector
![]() IMPORTANT: the recommended procedure is to first copy the FPGA bitstreams (the
IMPORTANT: the recommended procedure is to first copy the FPGA bitstreams (the bin folder, renaming it to something more intuitive like addvector), and then copy the application executable inside that folder.
Initialize Target Environment
Power up your FPGA board, and wait for the Linux prompt to be available. In the following, this tutorial will assume connection via serial port with the board.
Run the following script in /root:
./setup.sh
This will load the ARTICo³ kernel module and the Device Tree Overlay. More info on this topic in the documentation section.
![]() IMPORTANT: the
IMPORTANT: the setup.sh script needs to be run only after the board has been powered up, not every time you want to execute an ARTICo³ application.
Execute the Application
Go to the folder you copied to the target filesystem. You should see something like this:

Execute the ARTICo³ application from the shell:
./addvector
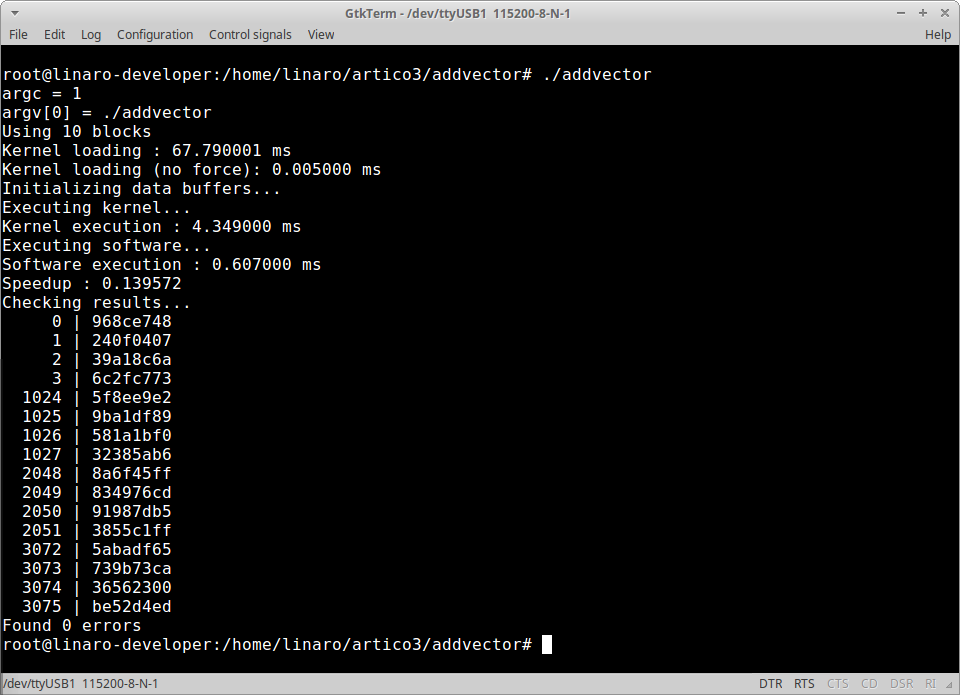
This tutorial uses a demo application where no actual speed up is achieved by using ARTICo³. If you want to start accelerating things, please move to the Hello, World! tutorial.