ARTICo³ – Register-Based Configuration
Tutorial created on July 10, 2019 by A. Rodríguez
In this tutorial, you will design an ARTICo³ kernel that adds a fixed value (defined in a configuration register) to all its memory elements. In addition, you will be using one bidirectional input/output port in the hardware accelerator.
This tutorial covers the following topics:
- Using configuration registers in ARTICo³ accelerators
- Using bidirectional ports in ARTICo³ accelerators
Requirements
Implementation
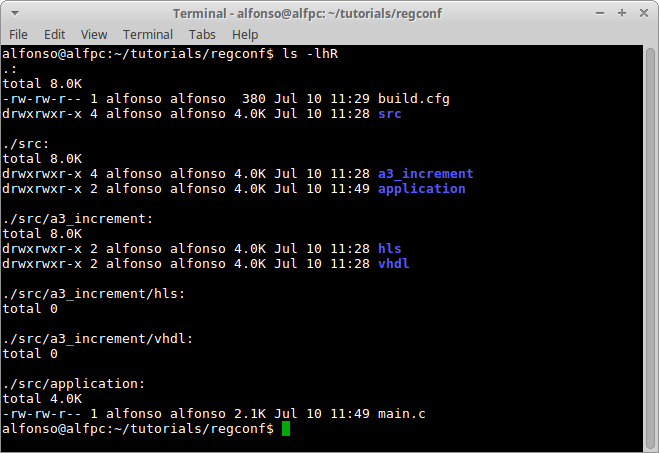
Set Up Workspace
Download the project from here and extract the files.
Accelerator Code
Create a file called increment.cpp in regconf/src/a3_increment/hls and type in the following code:
#include "artico3.h"
A3_KERNEL(a3inout_t io, a3reg_t inc) {
    uint16_t i;
    float aux;
    a3reg_init(inc);
    for (i = 0; i < (65536 / 4); i++) {
        aux = a3tof(io[i]) + a3tof(*inc);
        io[i] = ftoa3(aux);
    }
}
This ARTICo³ kernel has only one memory bank that is configured as a bidirectional input/output using the a3inout_t tag. It also has a configuration register, defined by the a3reg_t tag.
Whenever a configuration register is used in the accelerator code, it requires to first call an initialization function a3reg_init. In addition, the content of the register is accessed as if the register was a pointer (in this example, *inc).
Application Code
The application code has already been provided in the files you downloaded in the first step (regconf/src/application/main.c). In this section, you will review the most important pieces of code.
How to Allocate Bidirectional Ports
You only need to use the artico3_alloc function using the A3_P_IO tag.
a3data_t *io = artico3_alloc(8 * 65536, "increment", "io", A3_P_IO);
How to Use Configuration Registers
You only need to use the artico3_kernel_wcfg, specifying the name of the kernel, the register offset, and what to write in the register.
a3data_t wcfg[4] = {[0 ... 3] = ftoa3(4.321)};
artico3_kernel_wcfg("increment", 0x000, wcfg);
![]() IMPORTANT: there is an equivalent function to read configuration/status registers called
IMPORTANT: there is an equivalent function to read configuration/status registers called artico3_kernel_rcfg.
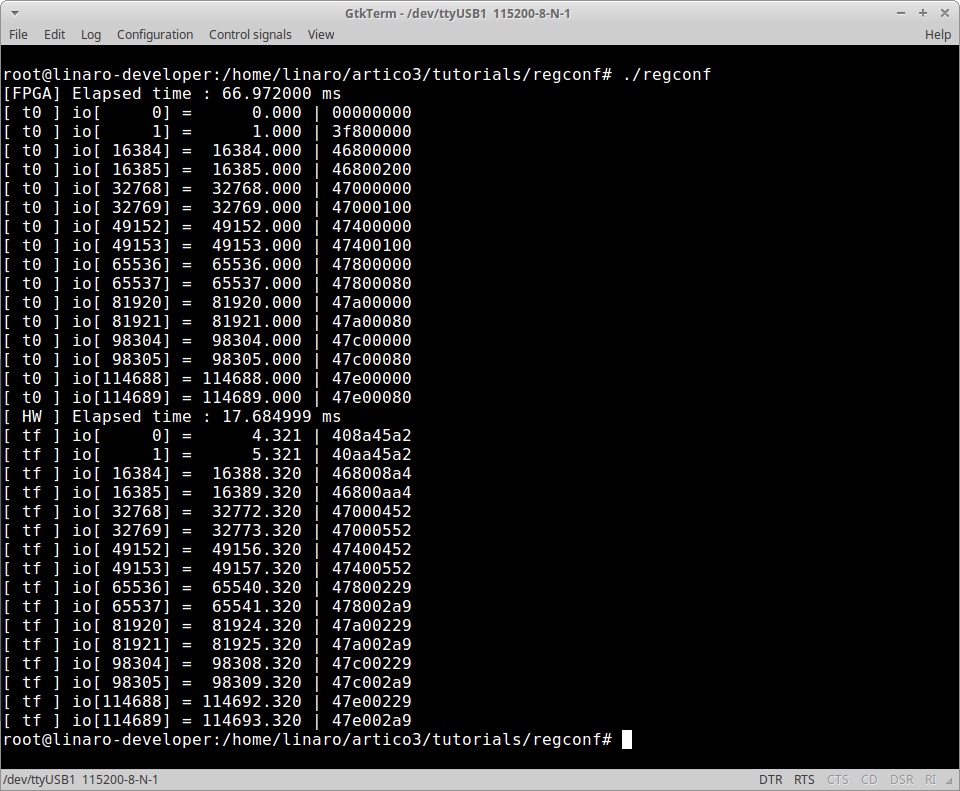
Build & Run Application
Use the ARTICo³ toolchain to build the project and generate both FPGA bitstreams (export_hw and build_hw) and application executable (export_sw and build_sw). Copy required files to target platform and run the application.
The complete solution of this tutorial can be downloaded from here.
![]() IMPORTANT: the ARTICo³ repository contains a more elaborated version of this tutorial. Check it out in
IMPORTANT: the ARTICo³ repository contains a more elaborated version of this tutorial. Check it out in artico3/demos/inout.